Welcome to our guide on how to import a CSV file in Sympathy for Data! This is an engaging and easy-to-follow guide that will get you through the steps of using Sympathy for Data effectively.
Step 1: Getting Started
To kick off the process, you will need a CSV file. We've got one ready for you - a CSV file that includes reselling prices for used cars, which can be downloaded from our website here.
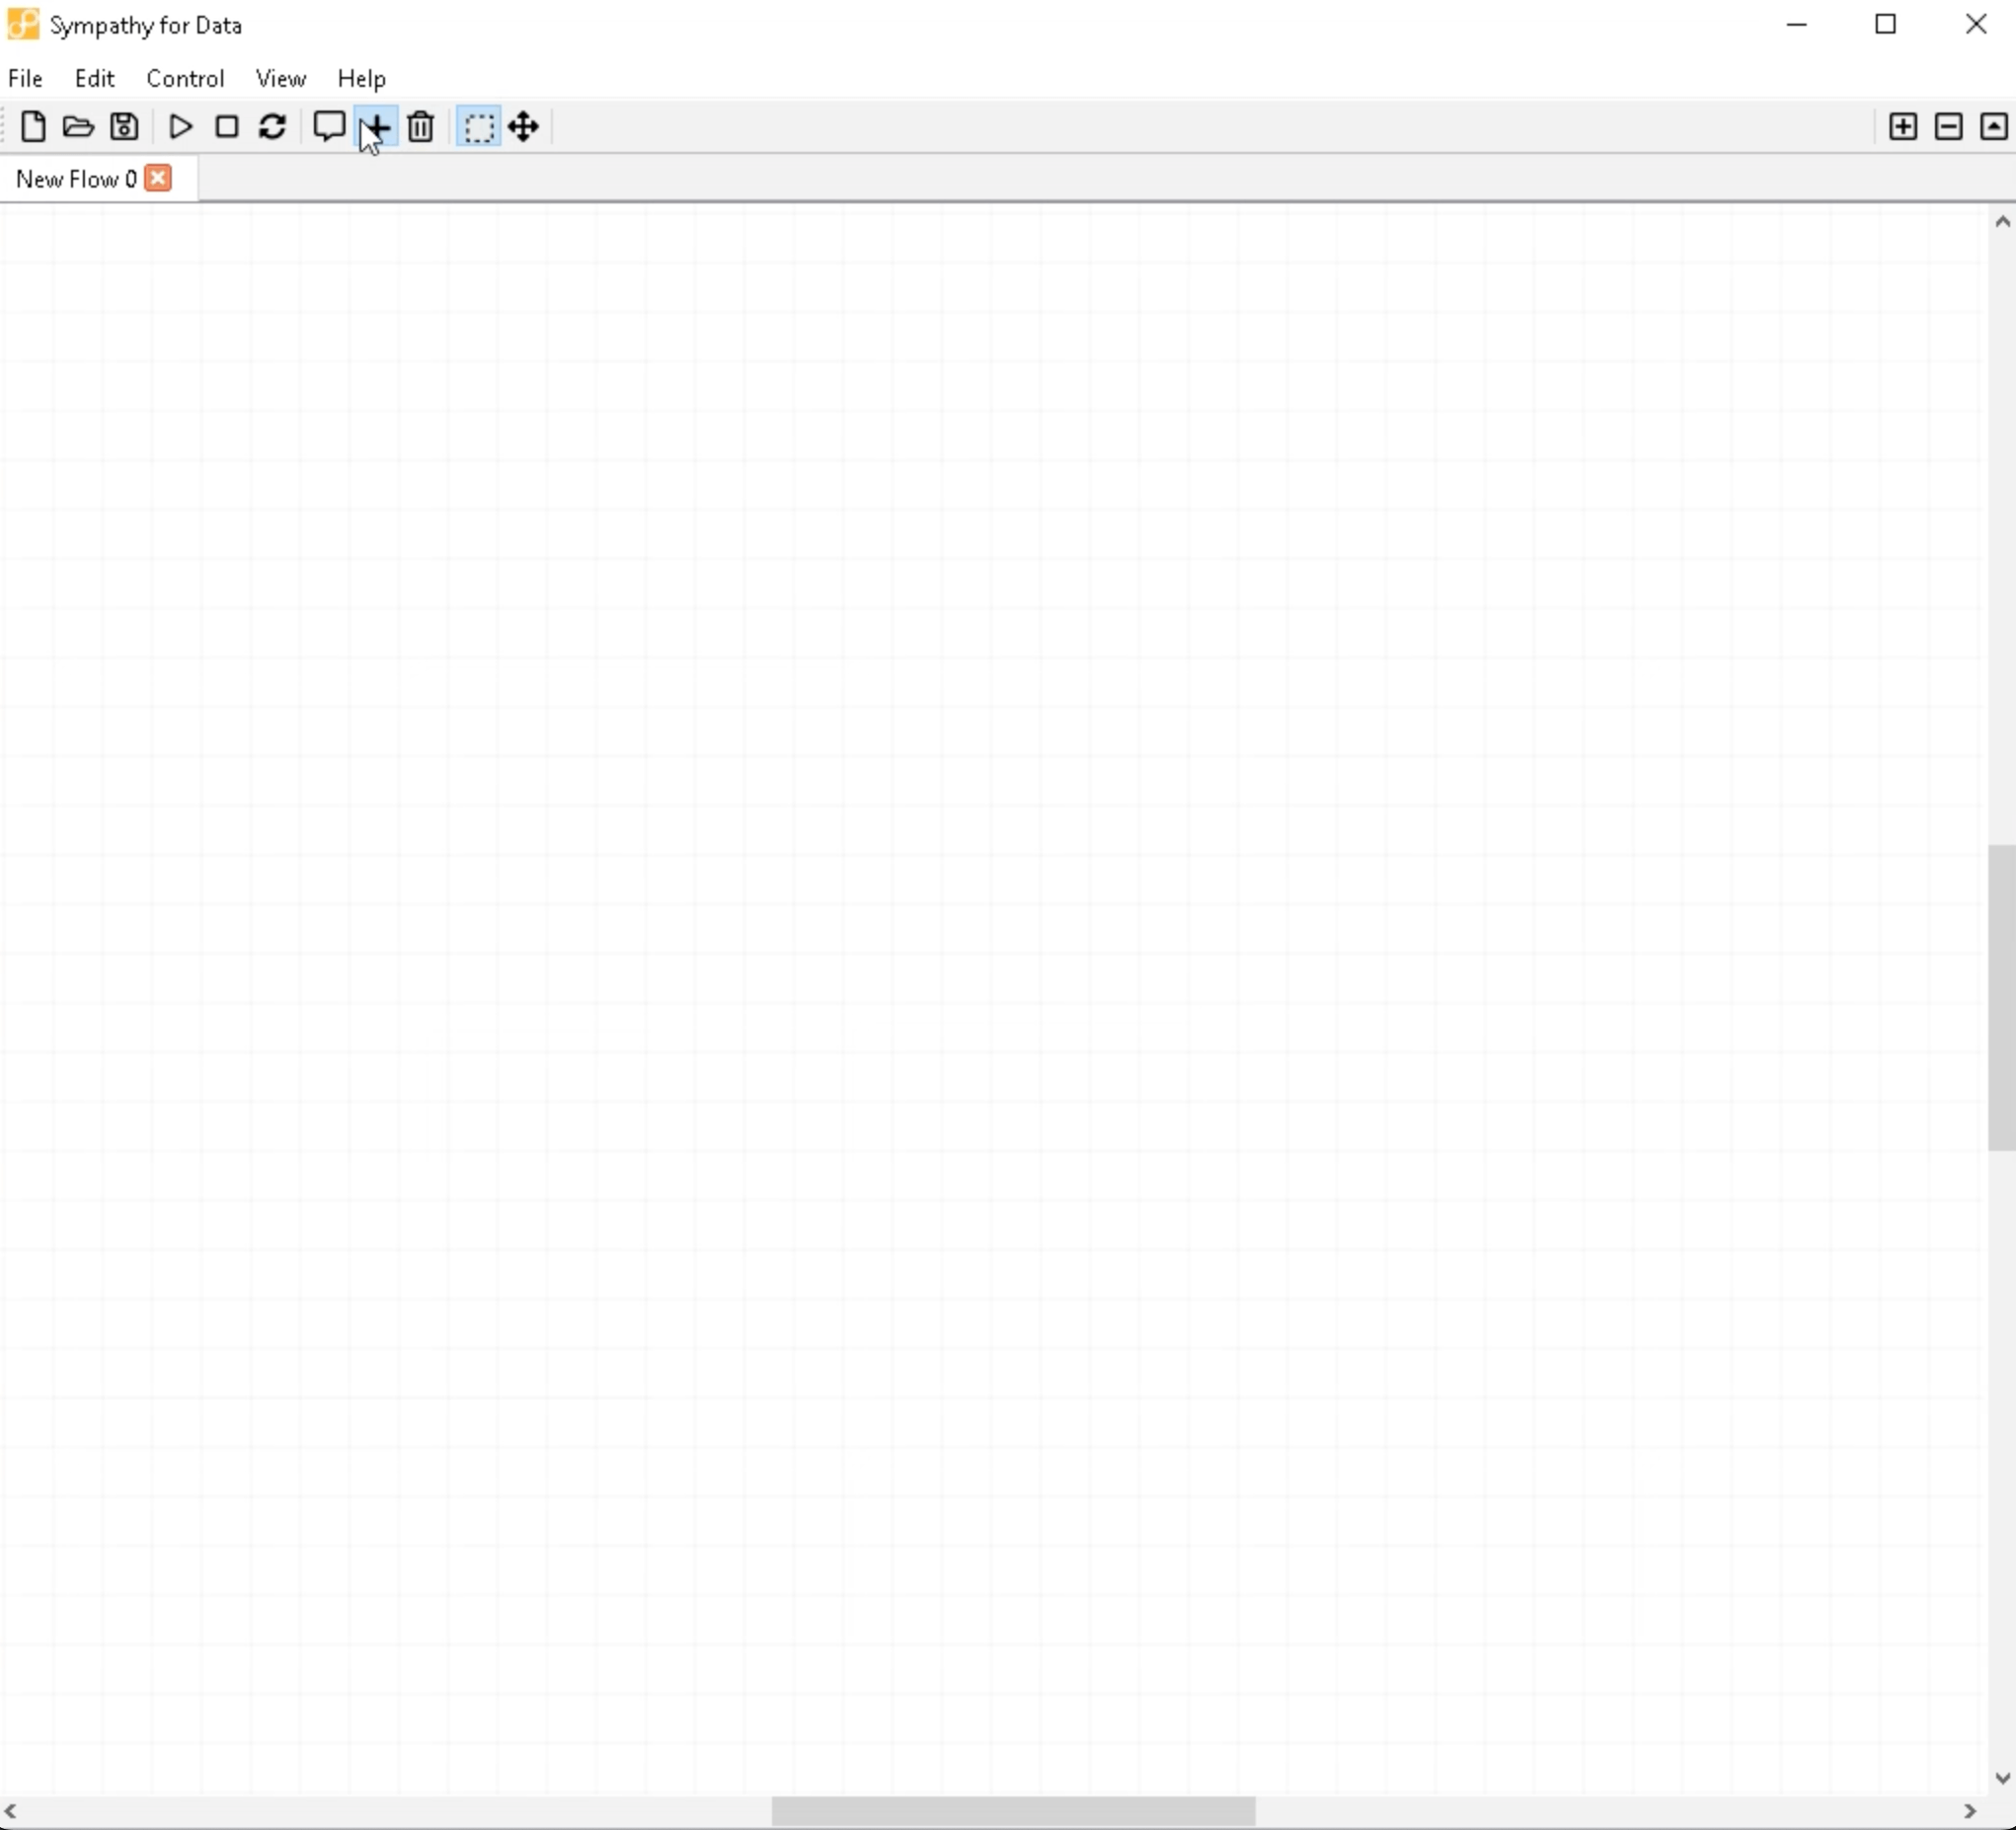
Step 2: Adding a Datasource Node
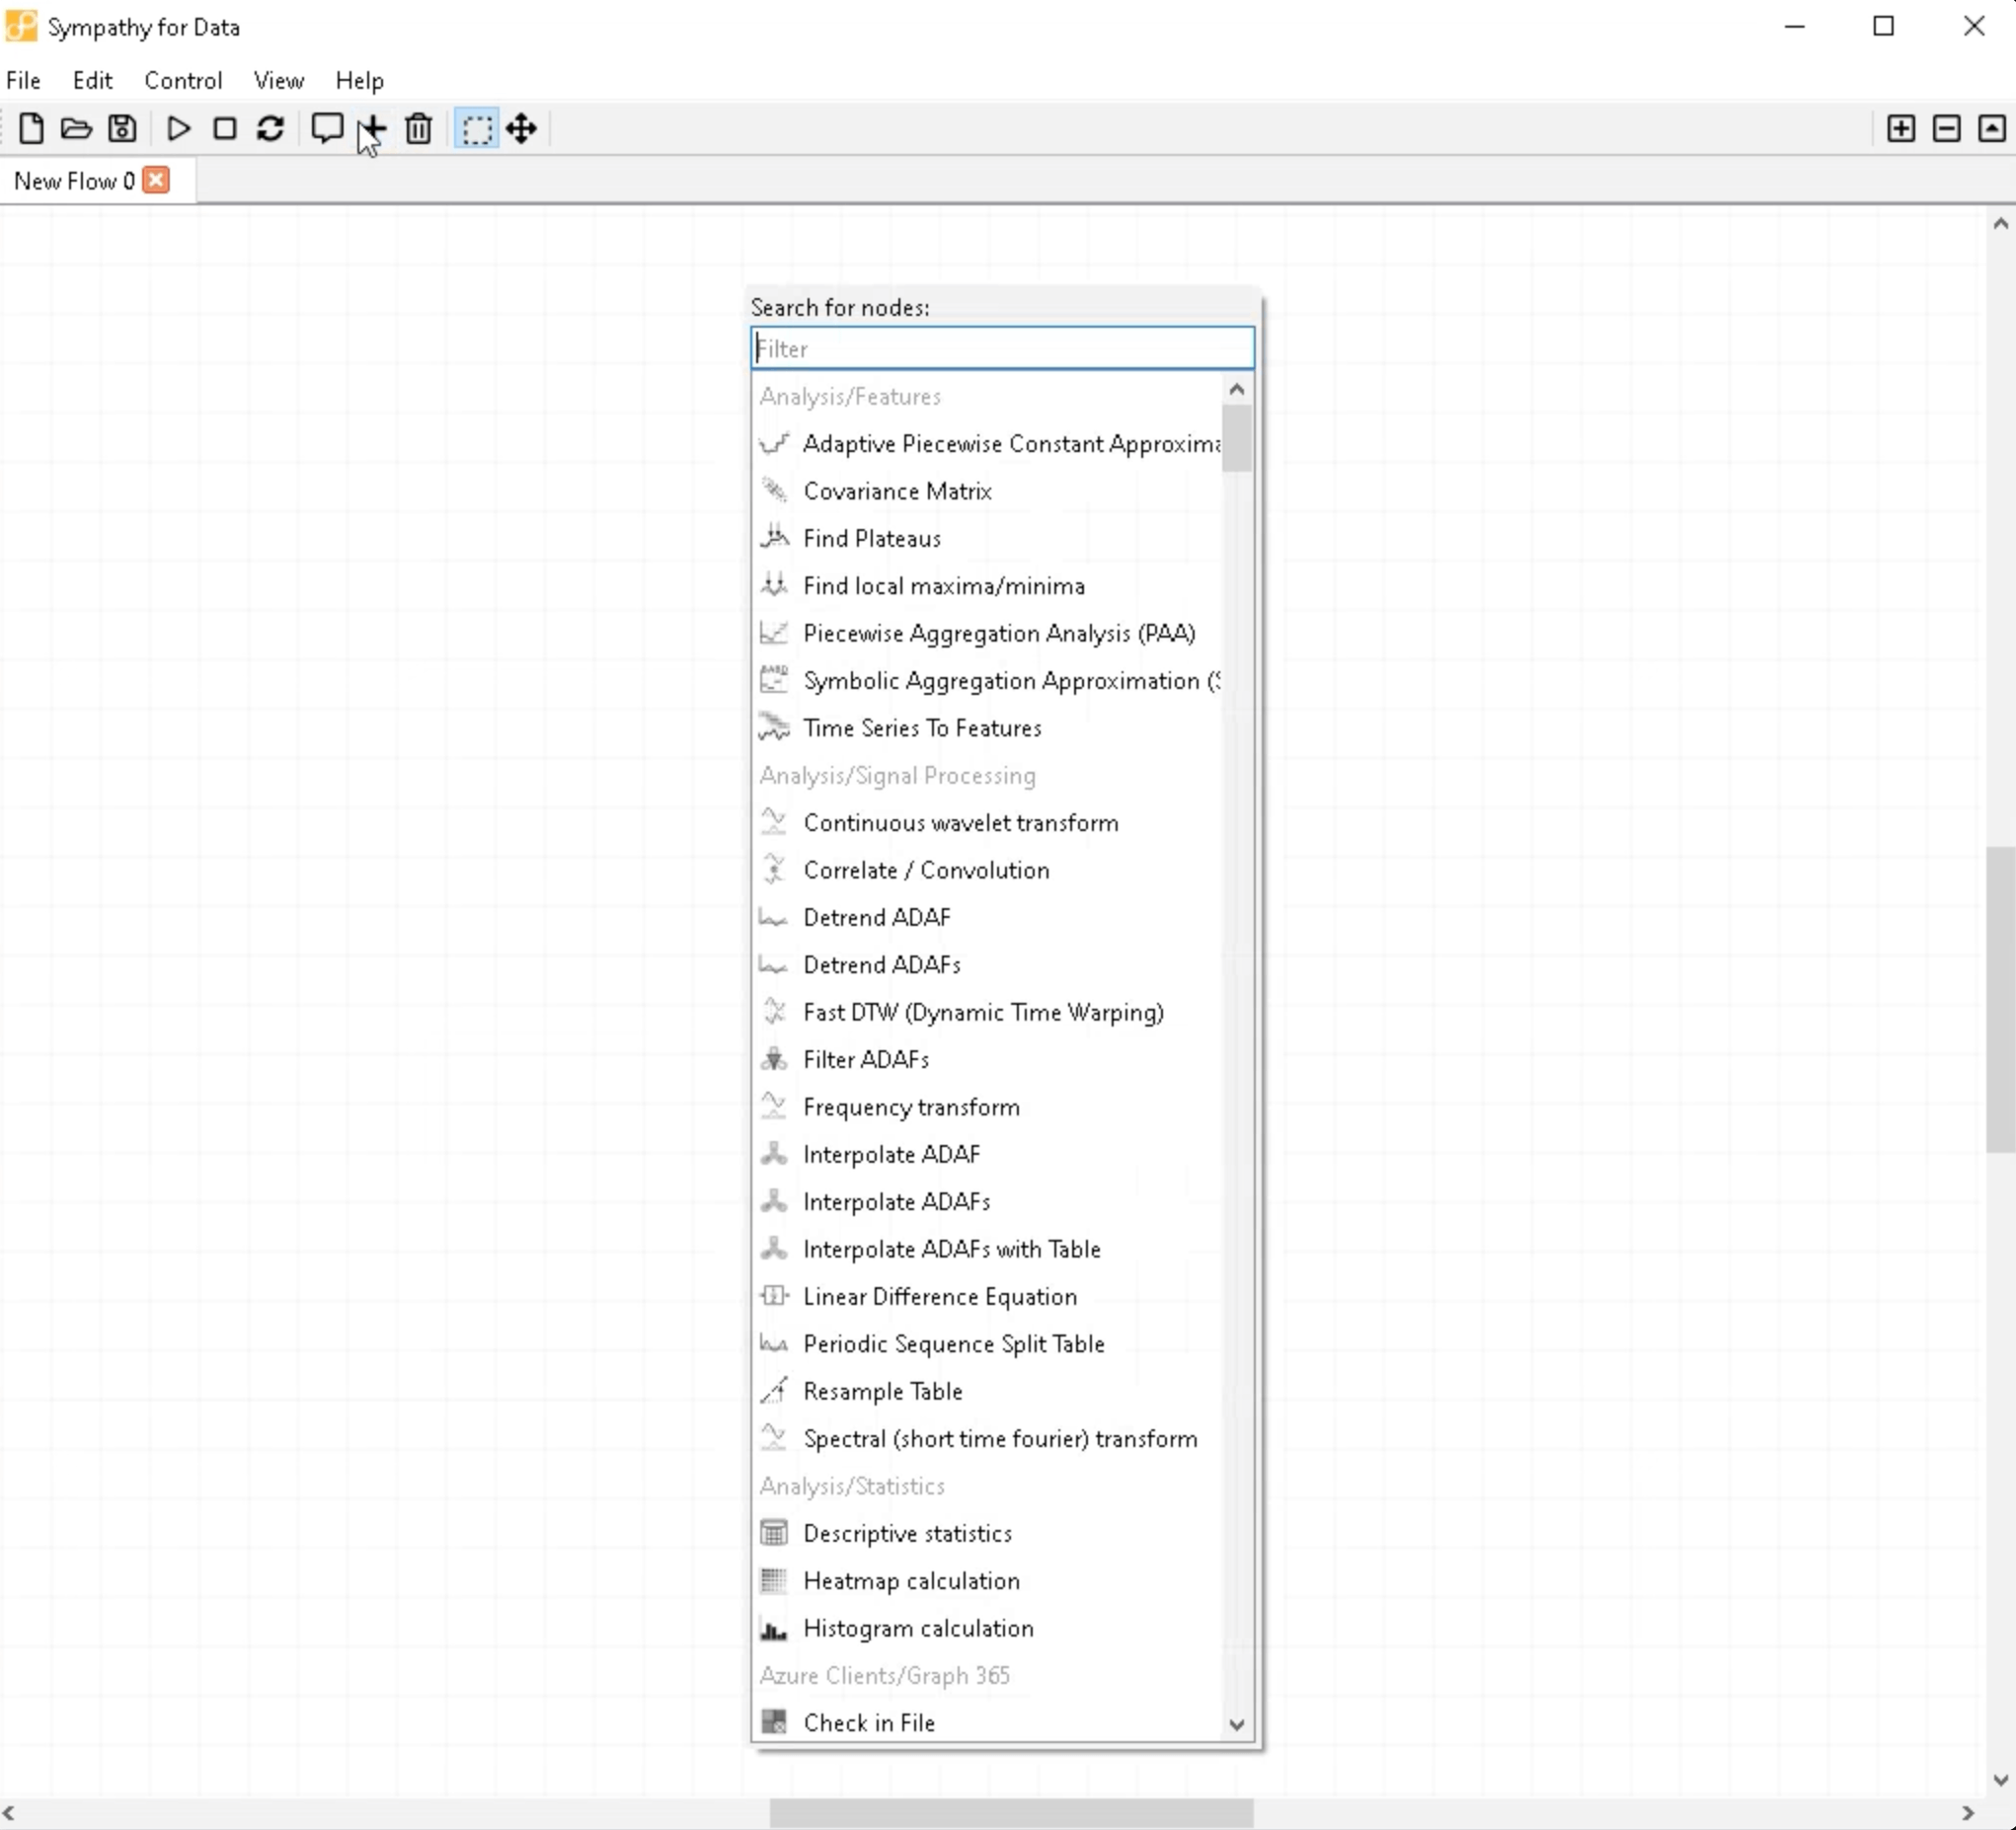
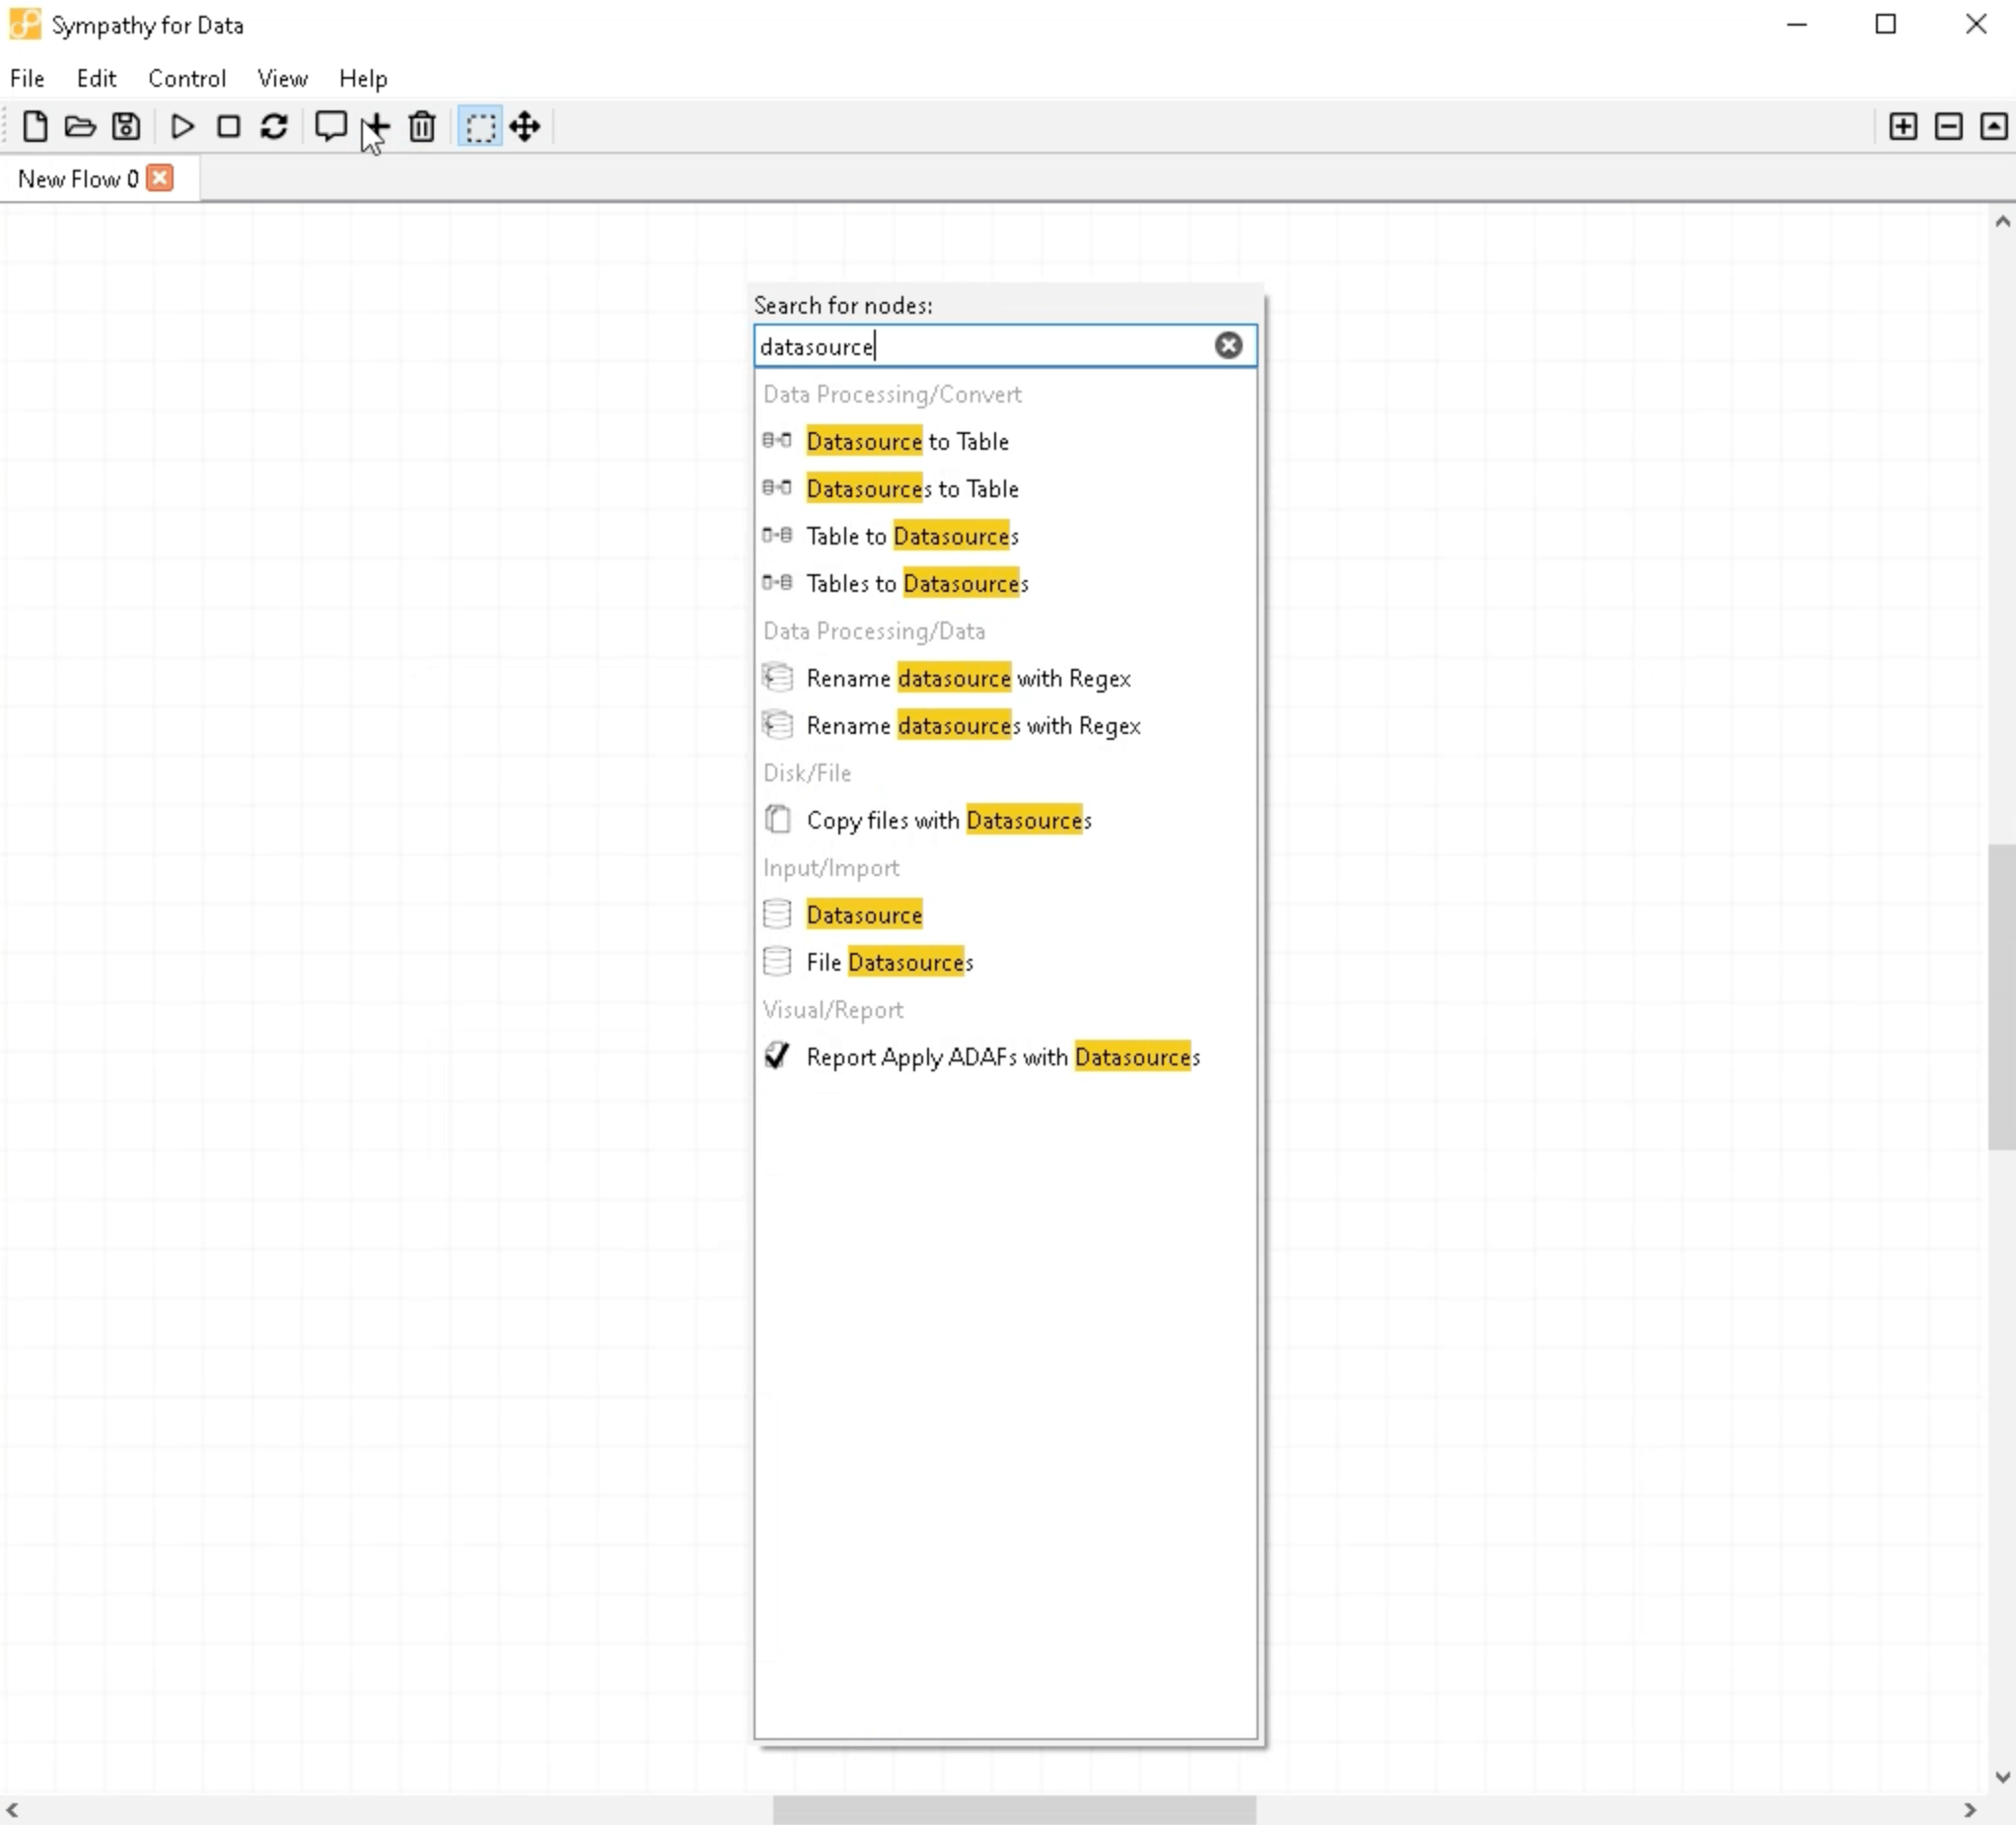
In Sympathy for Data, you will need to add a Datasource node. Click on the plus button which opens a window for selecting a node. Type "datasource" to filter the listed nodes, then select the node named Datasource to add it.
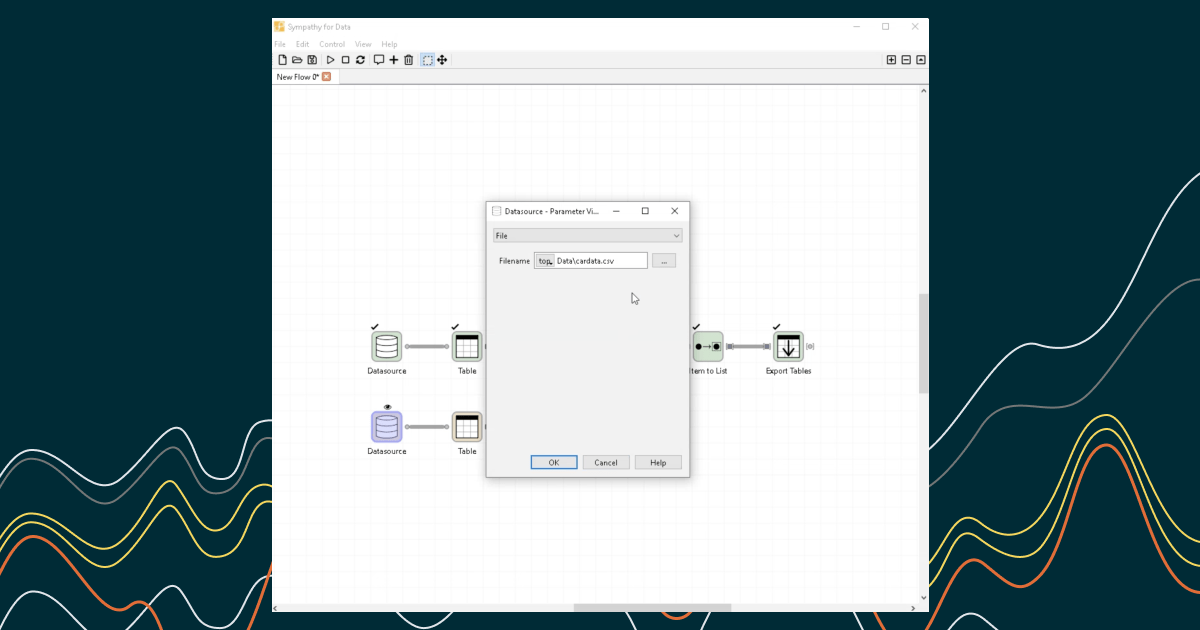
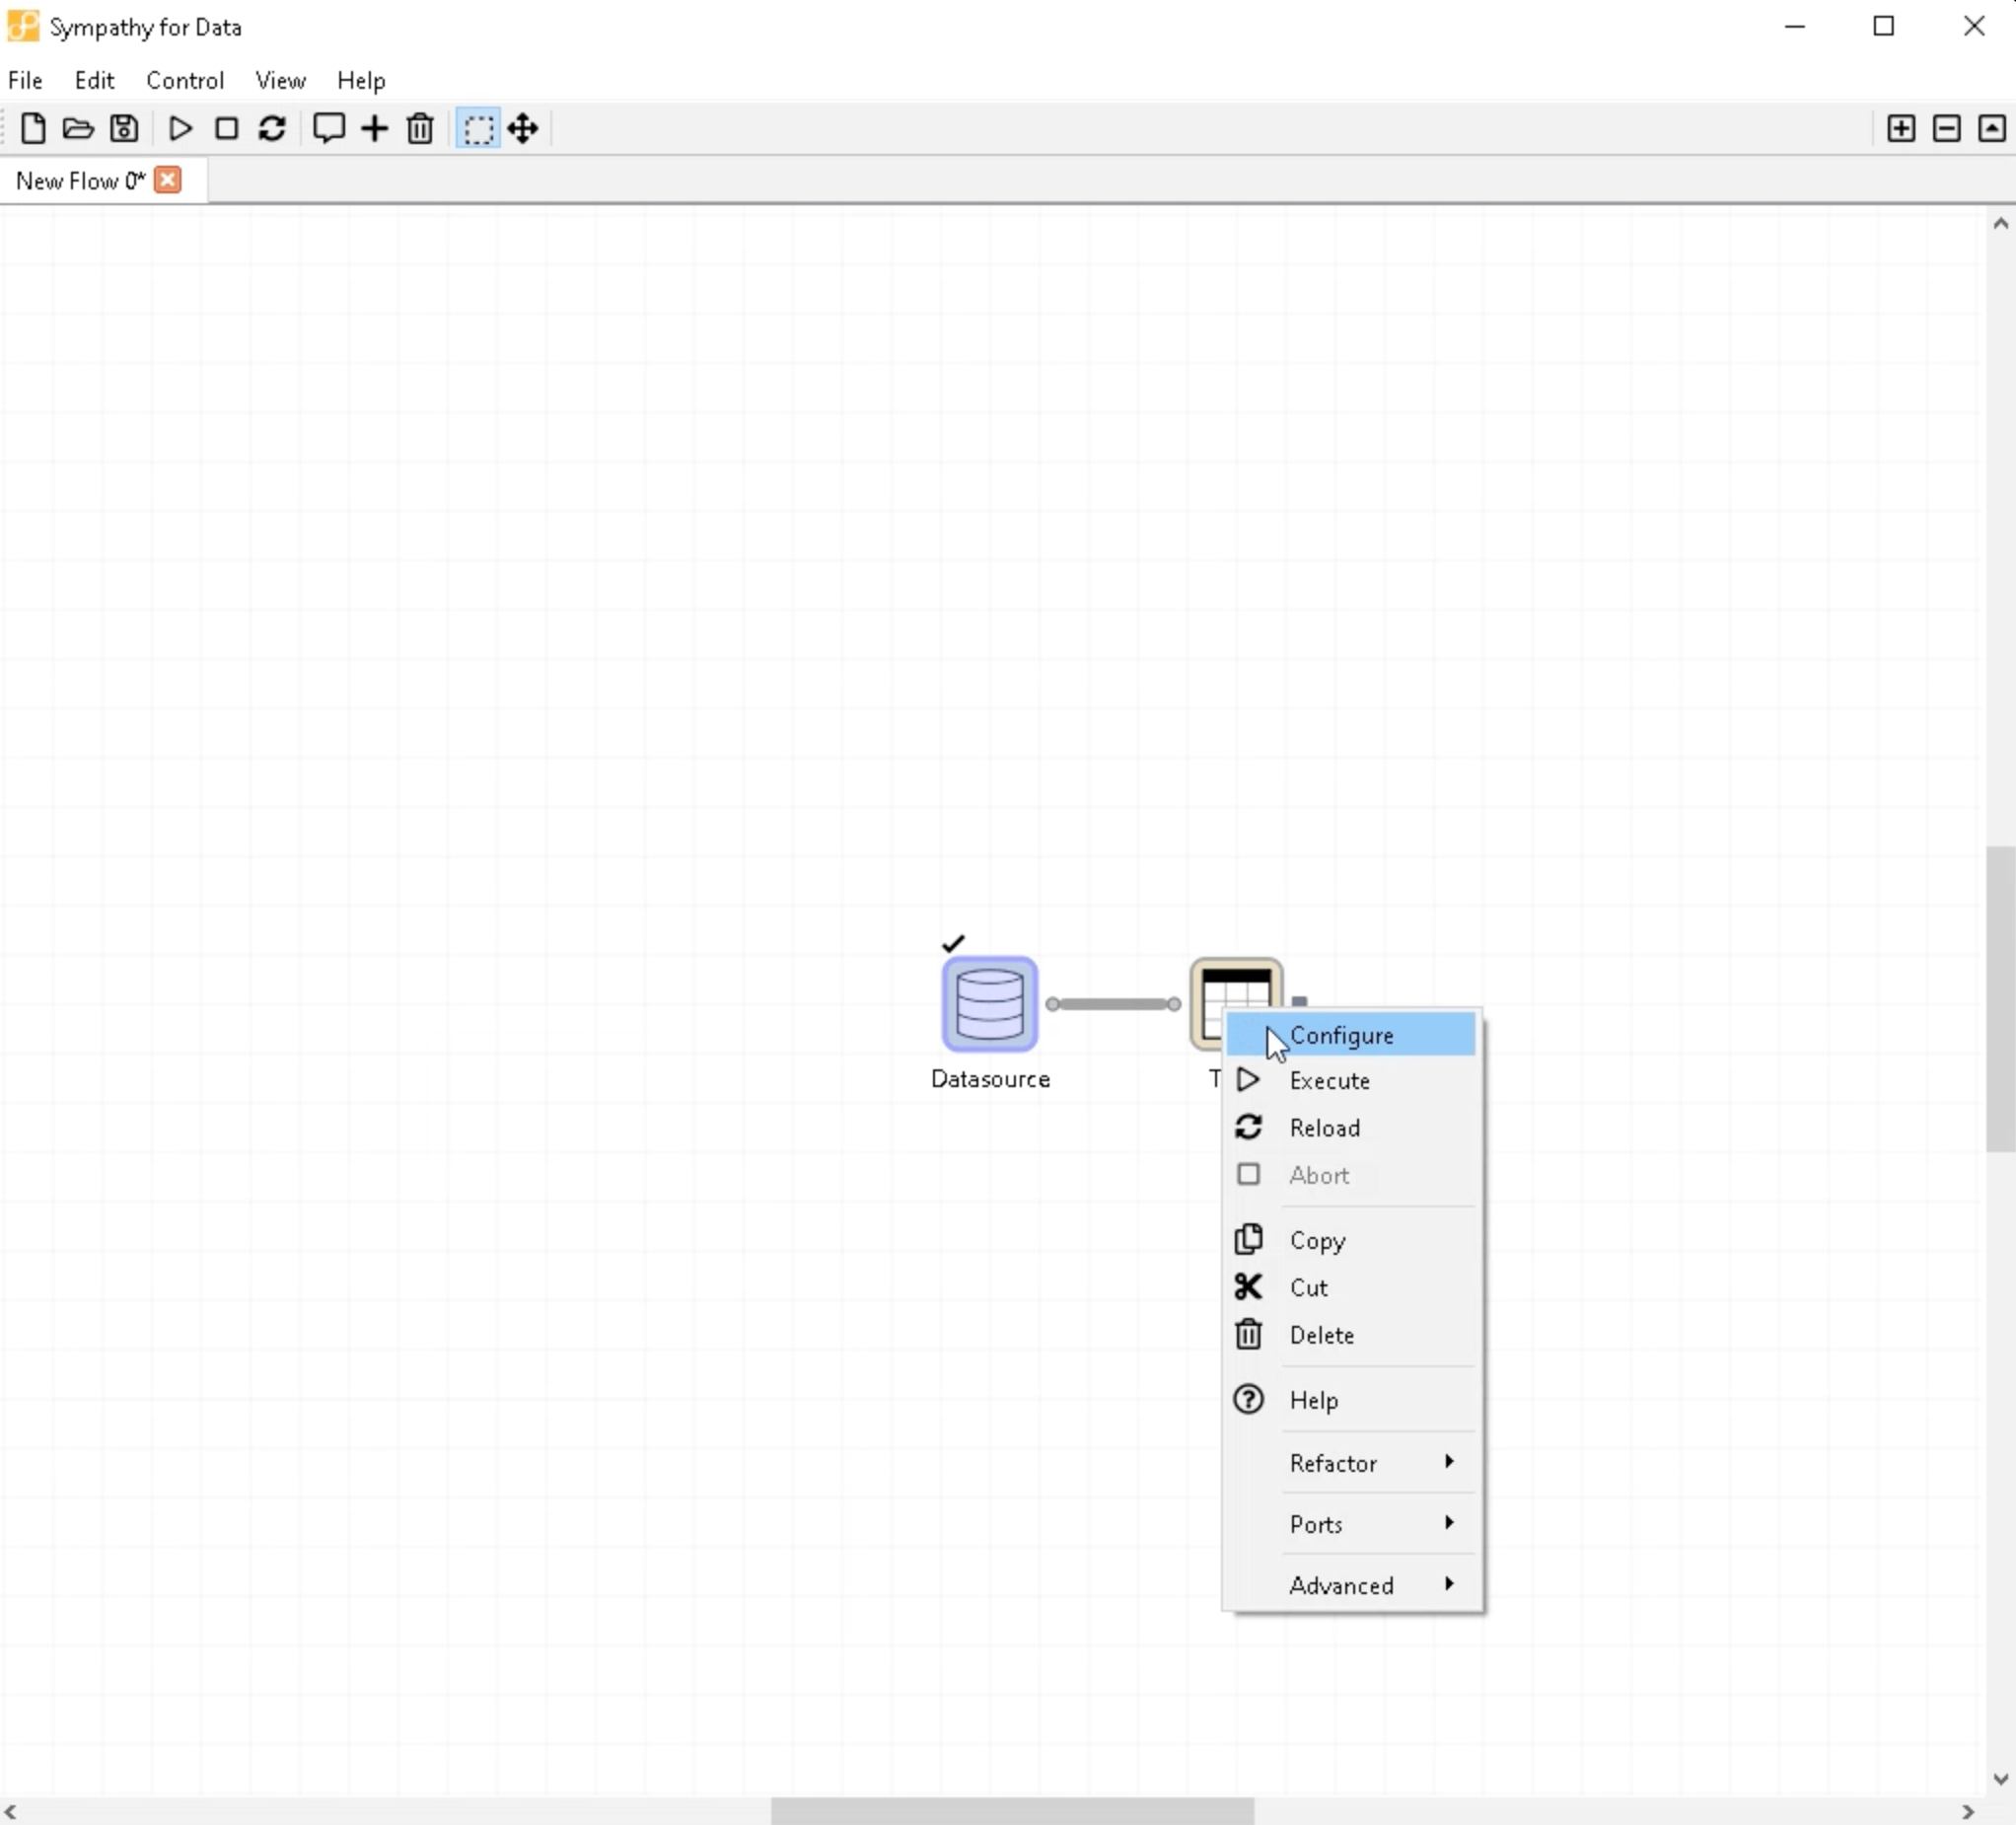
Step 3: Configuring the Datasource Node
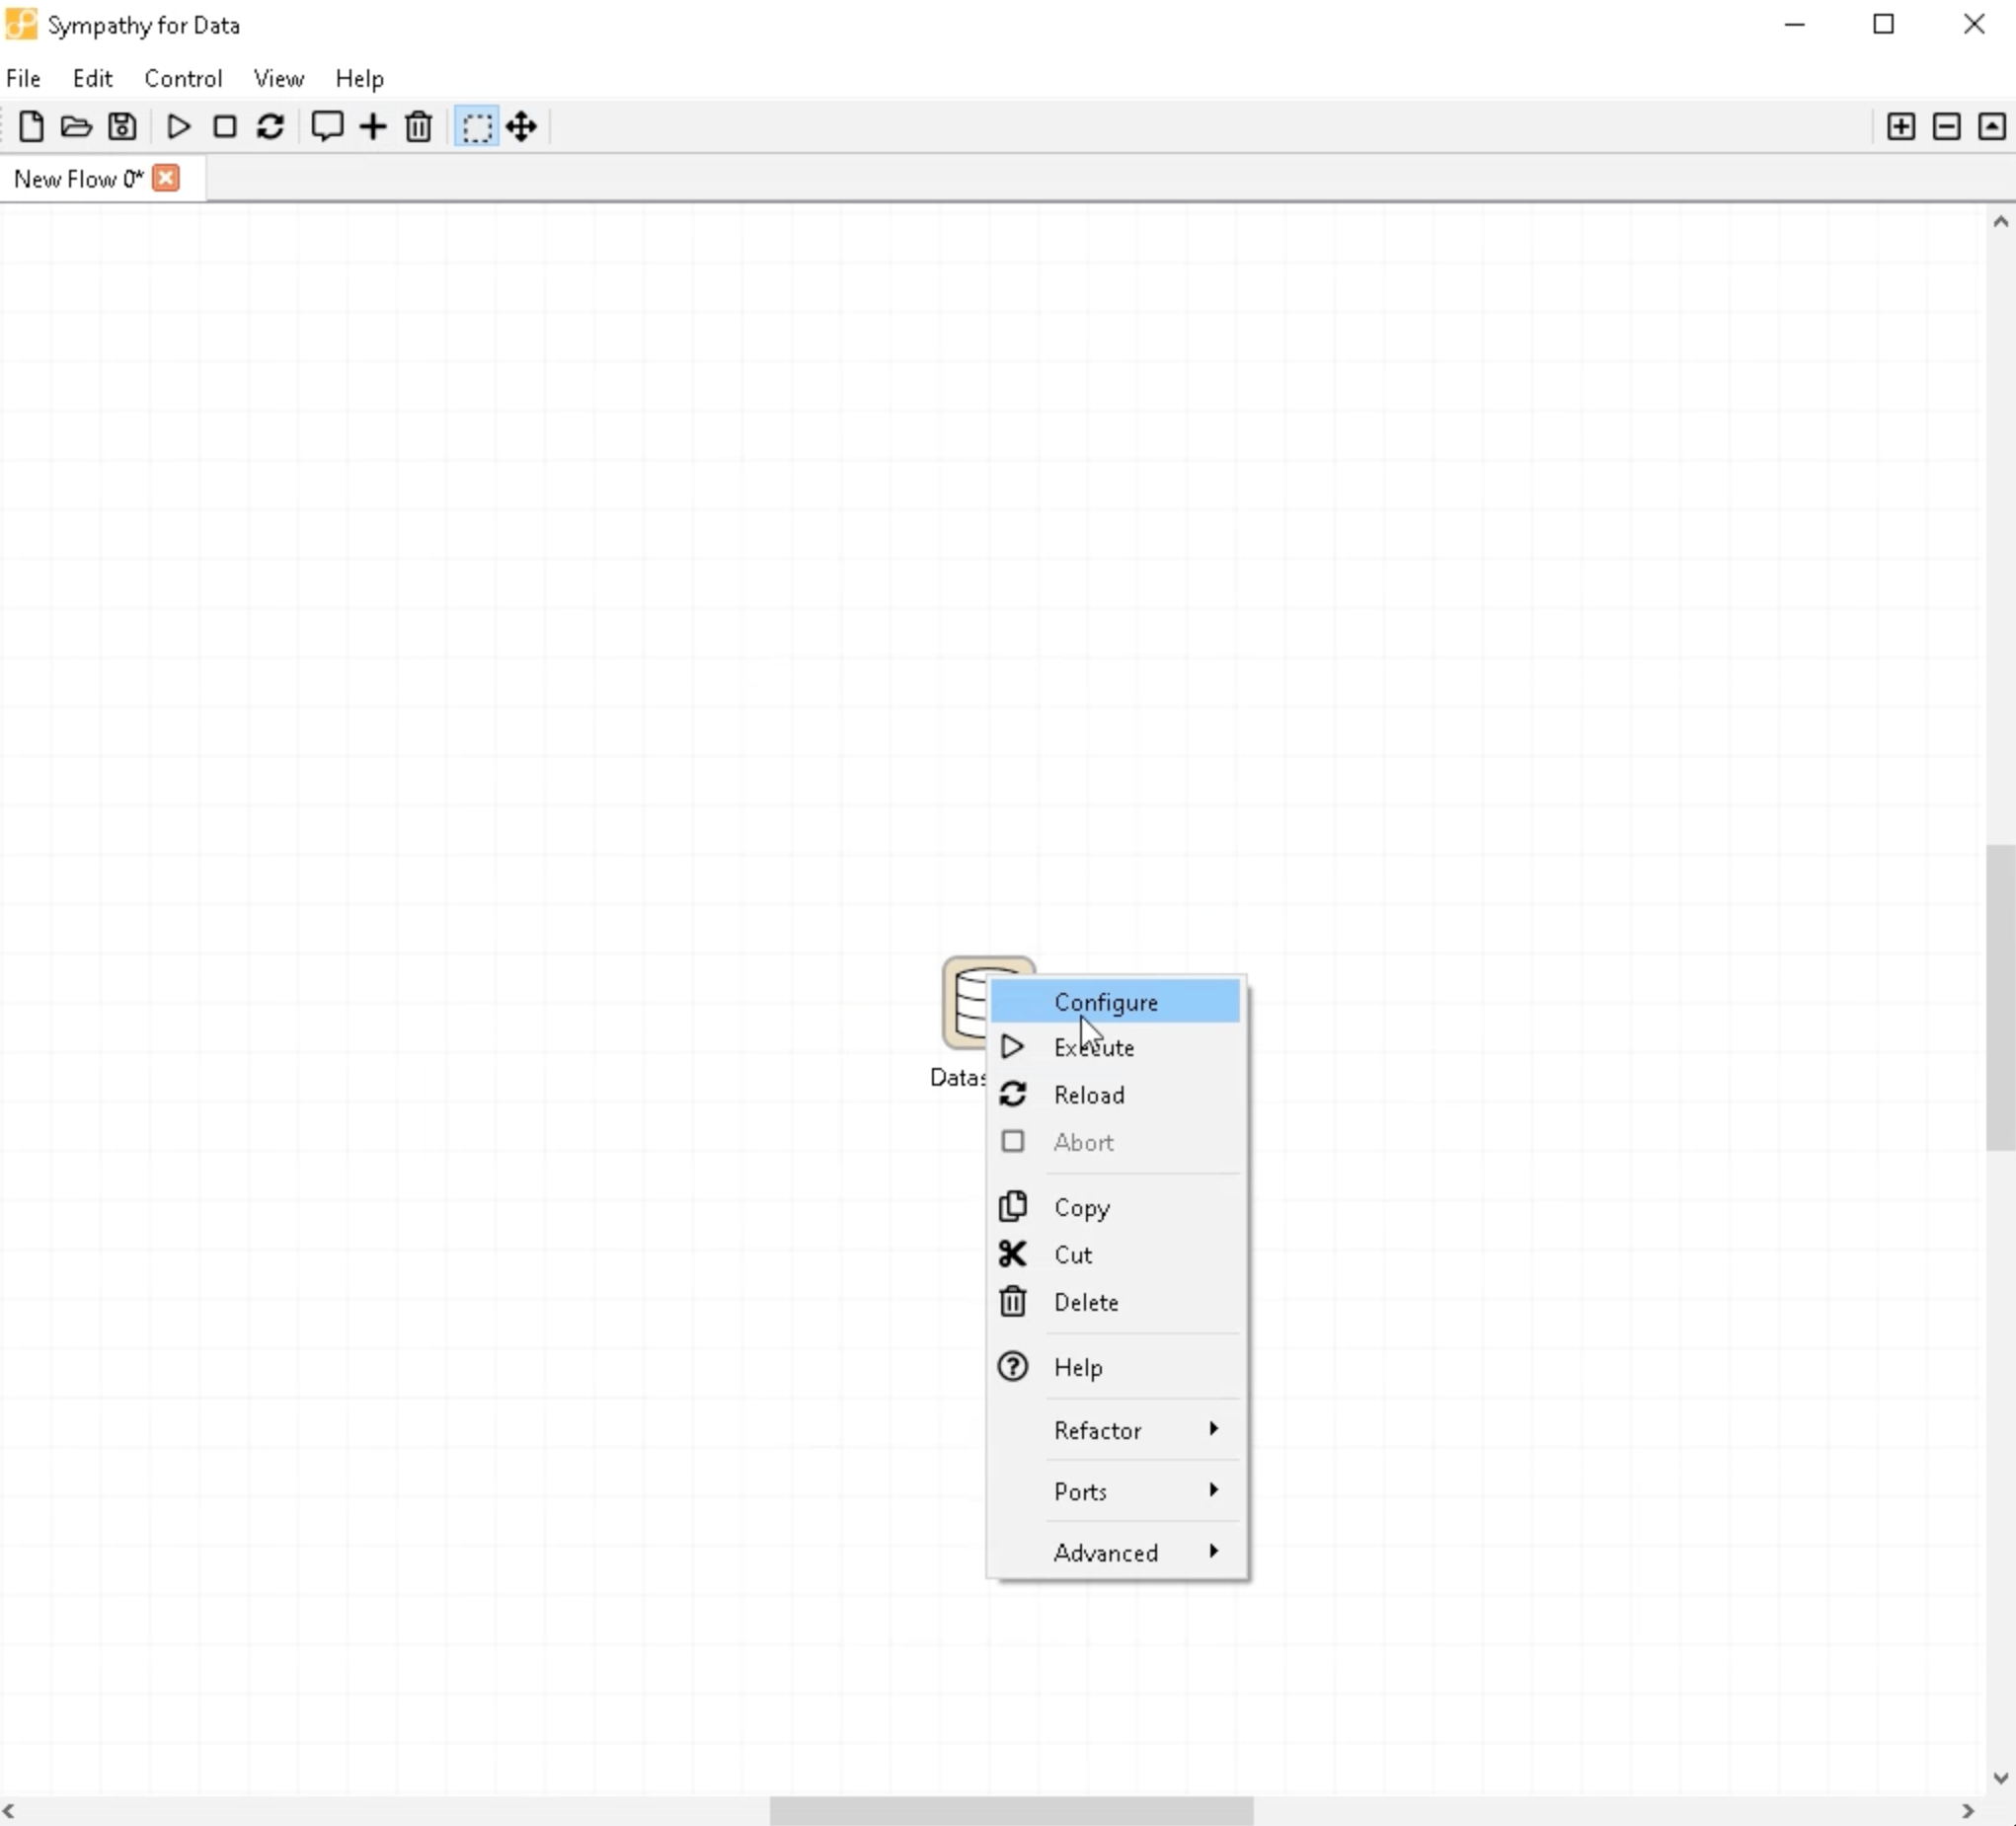
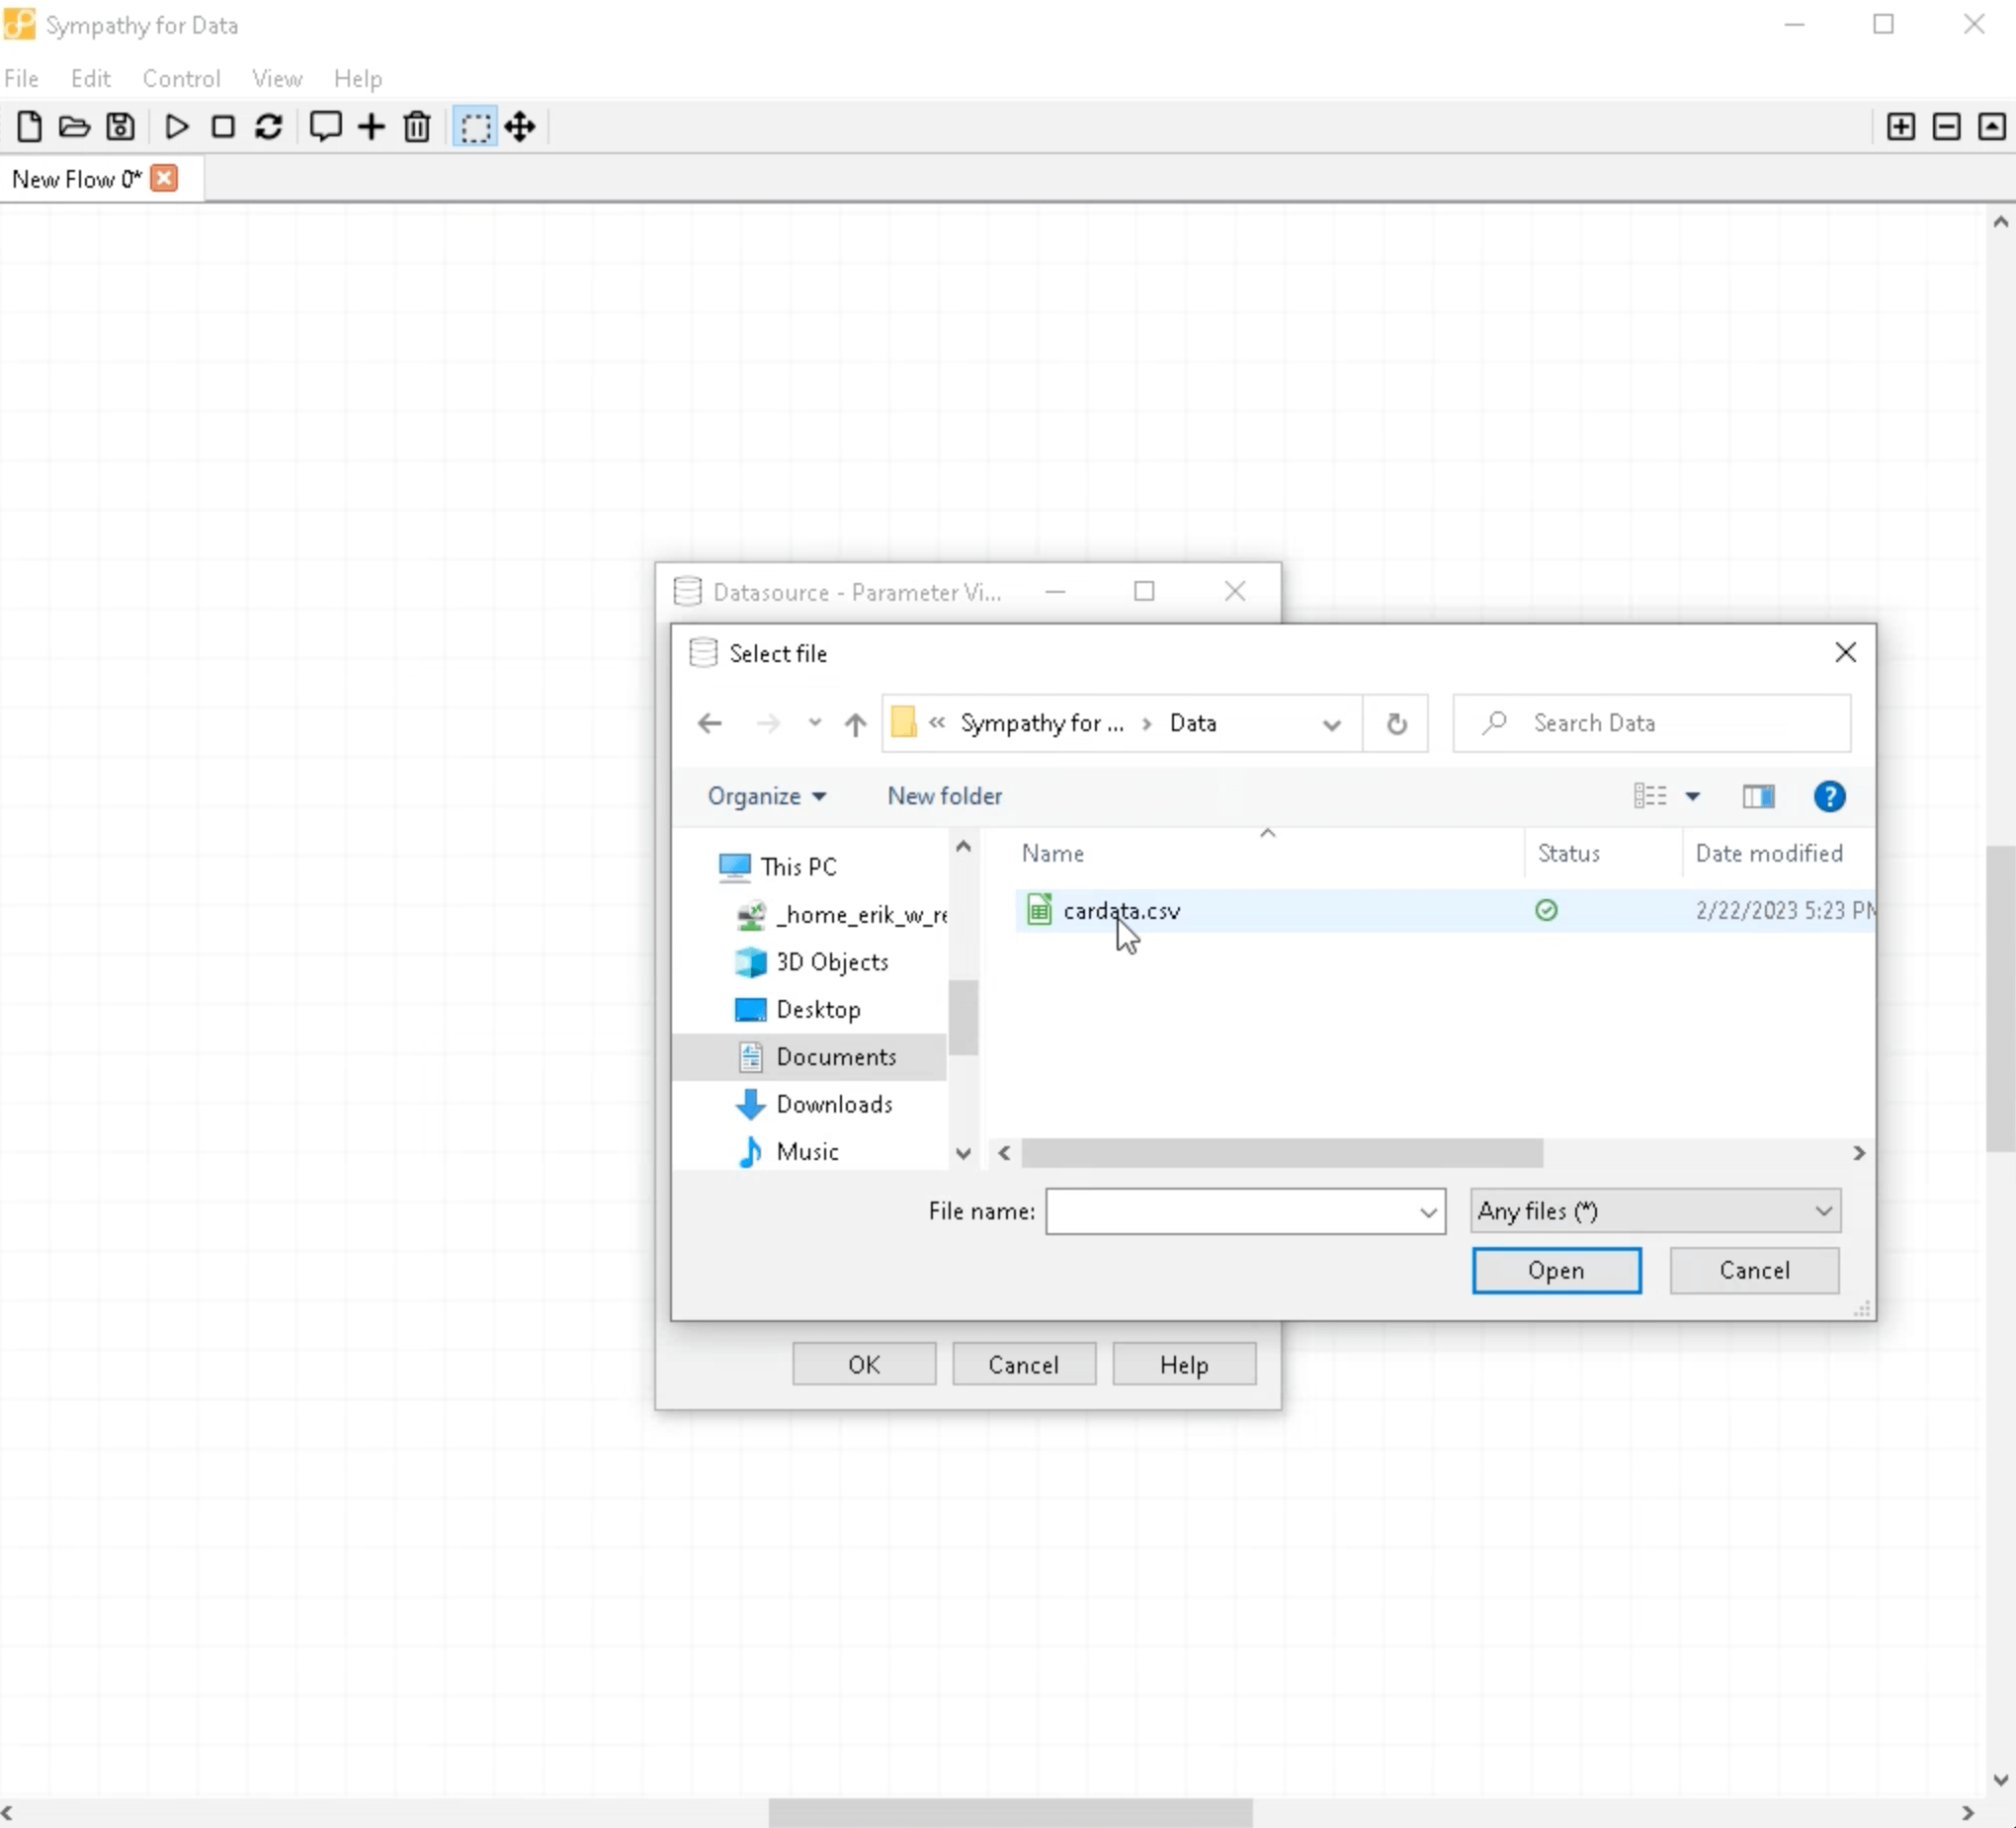
Right-click on the Datasource node to display its menu, then select "Configure". This will open its configuration window. Here, you need to browse for the CSV file that you just downloaded. Click on the "..." button, navigate to the file's location, and select the cardata.csv file. Once done, press "OK" to save the configuration.
Step 4: Executing the Datasource Node
Next, double-click on the Datasource node to execute it. This process will produce data on the output port.
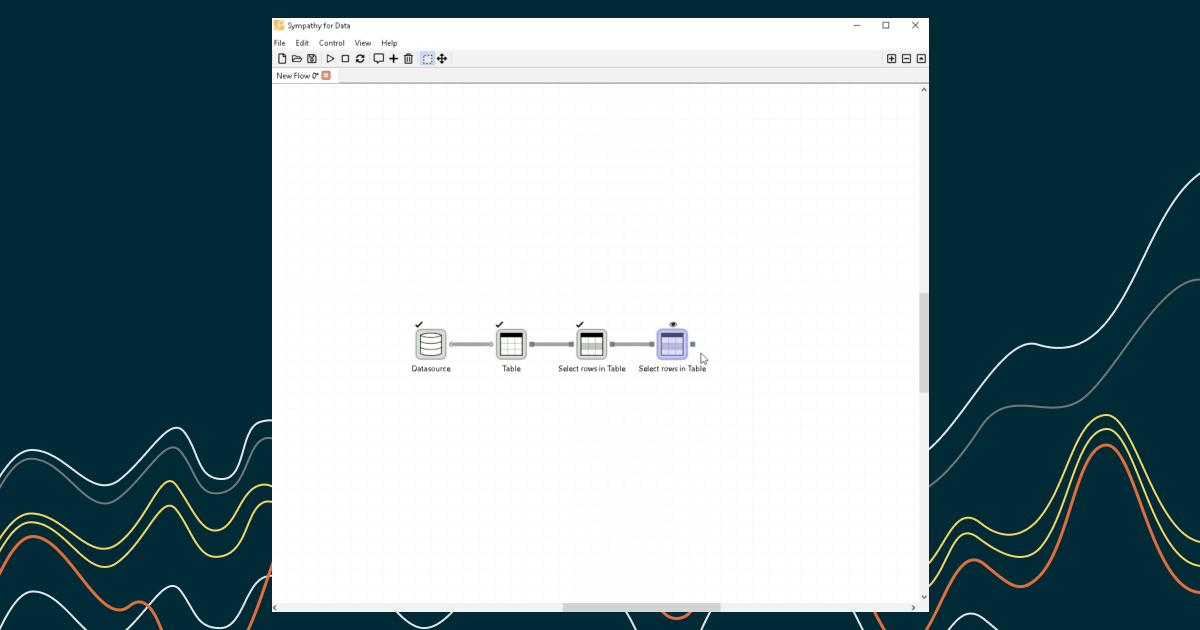
Step 5: Connecting a New Node
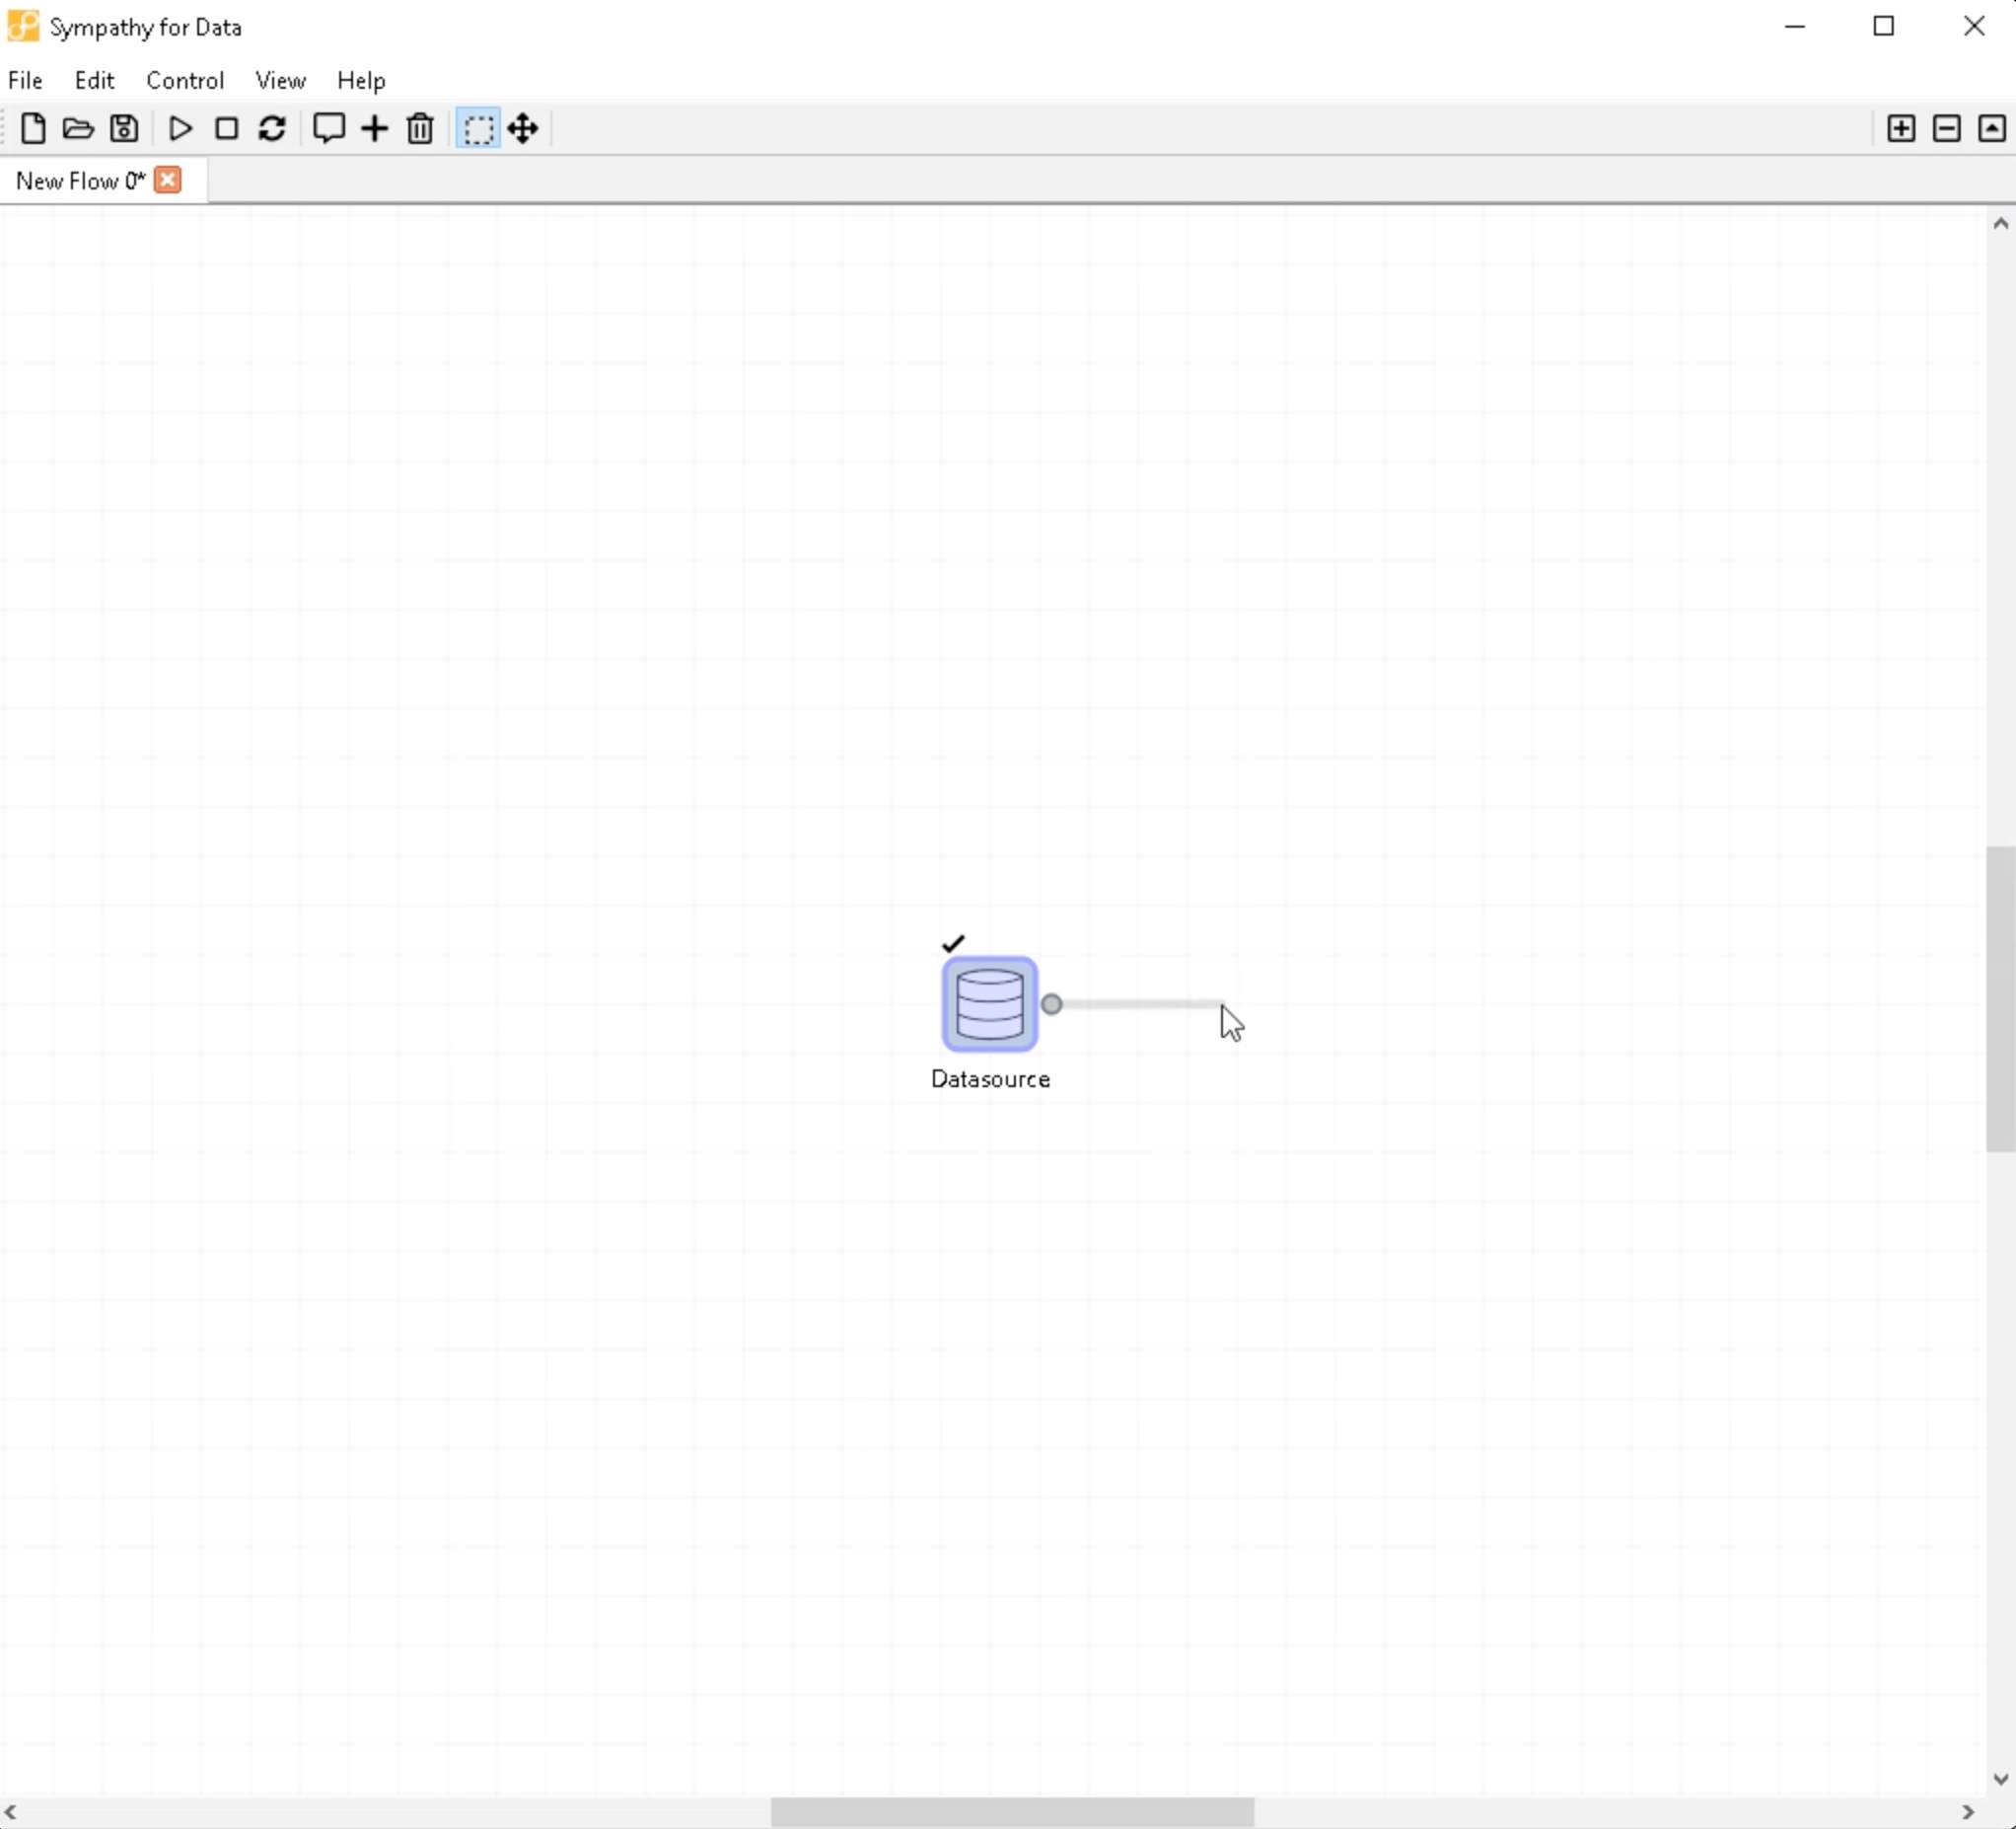
Now, start connecting a new node by dragging from the output port. In the filter, type "table" and select the node named "Table".
Step 6: Configuring the Table Node
After the Table node is added, you need to configure it. By default, the Auto Importer is selected. You should switch this to CSV. After switching, you'll be shown configuration options for the CSV importer. Simply press "OK" to save these settings.
Step 7: Executing the Table Node
Like before, double-click the Table node to execute it.
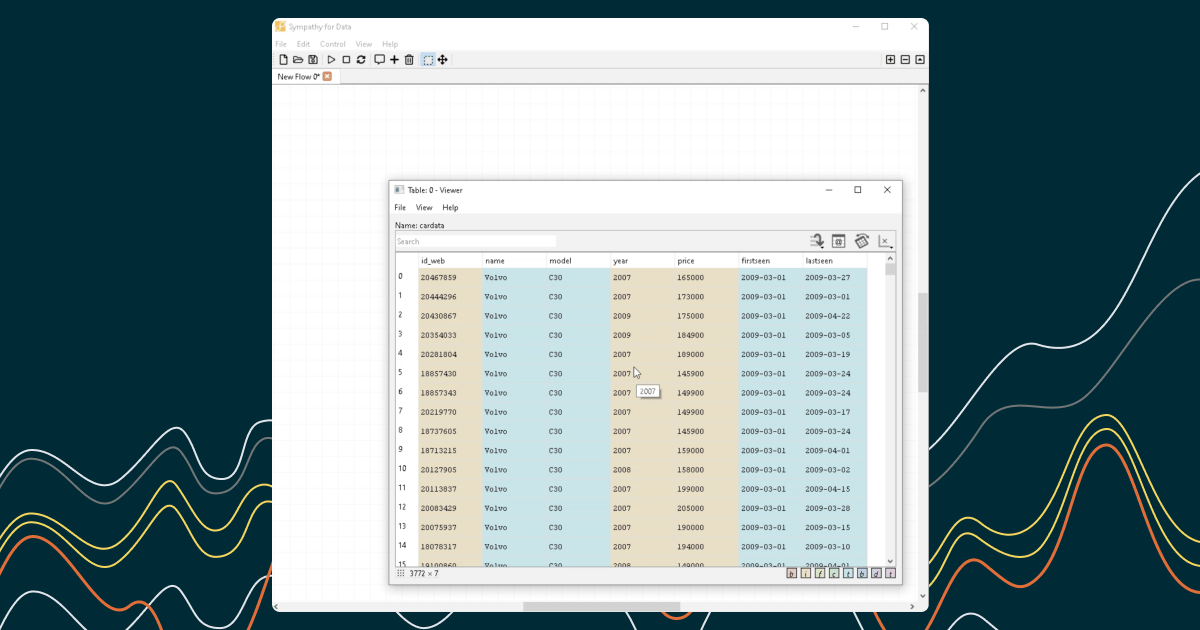
Step 8: Viewing the Data
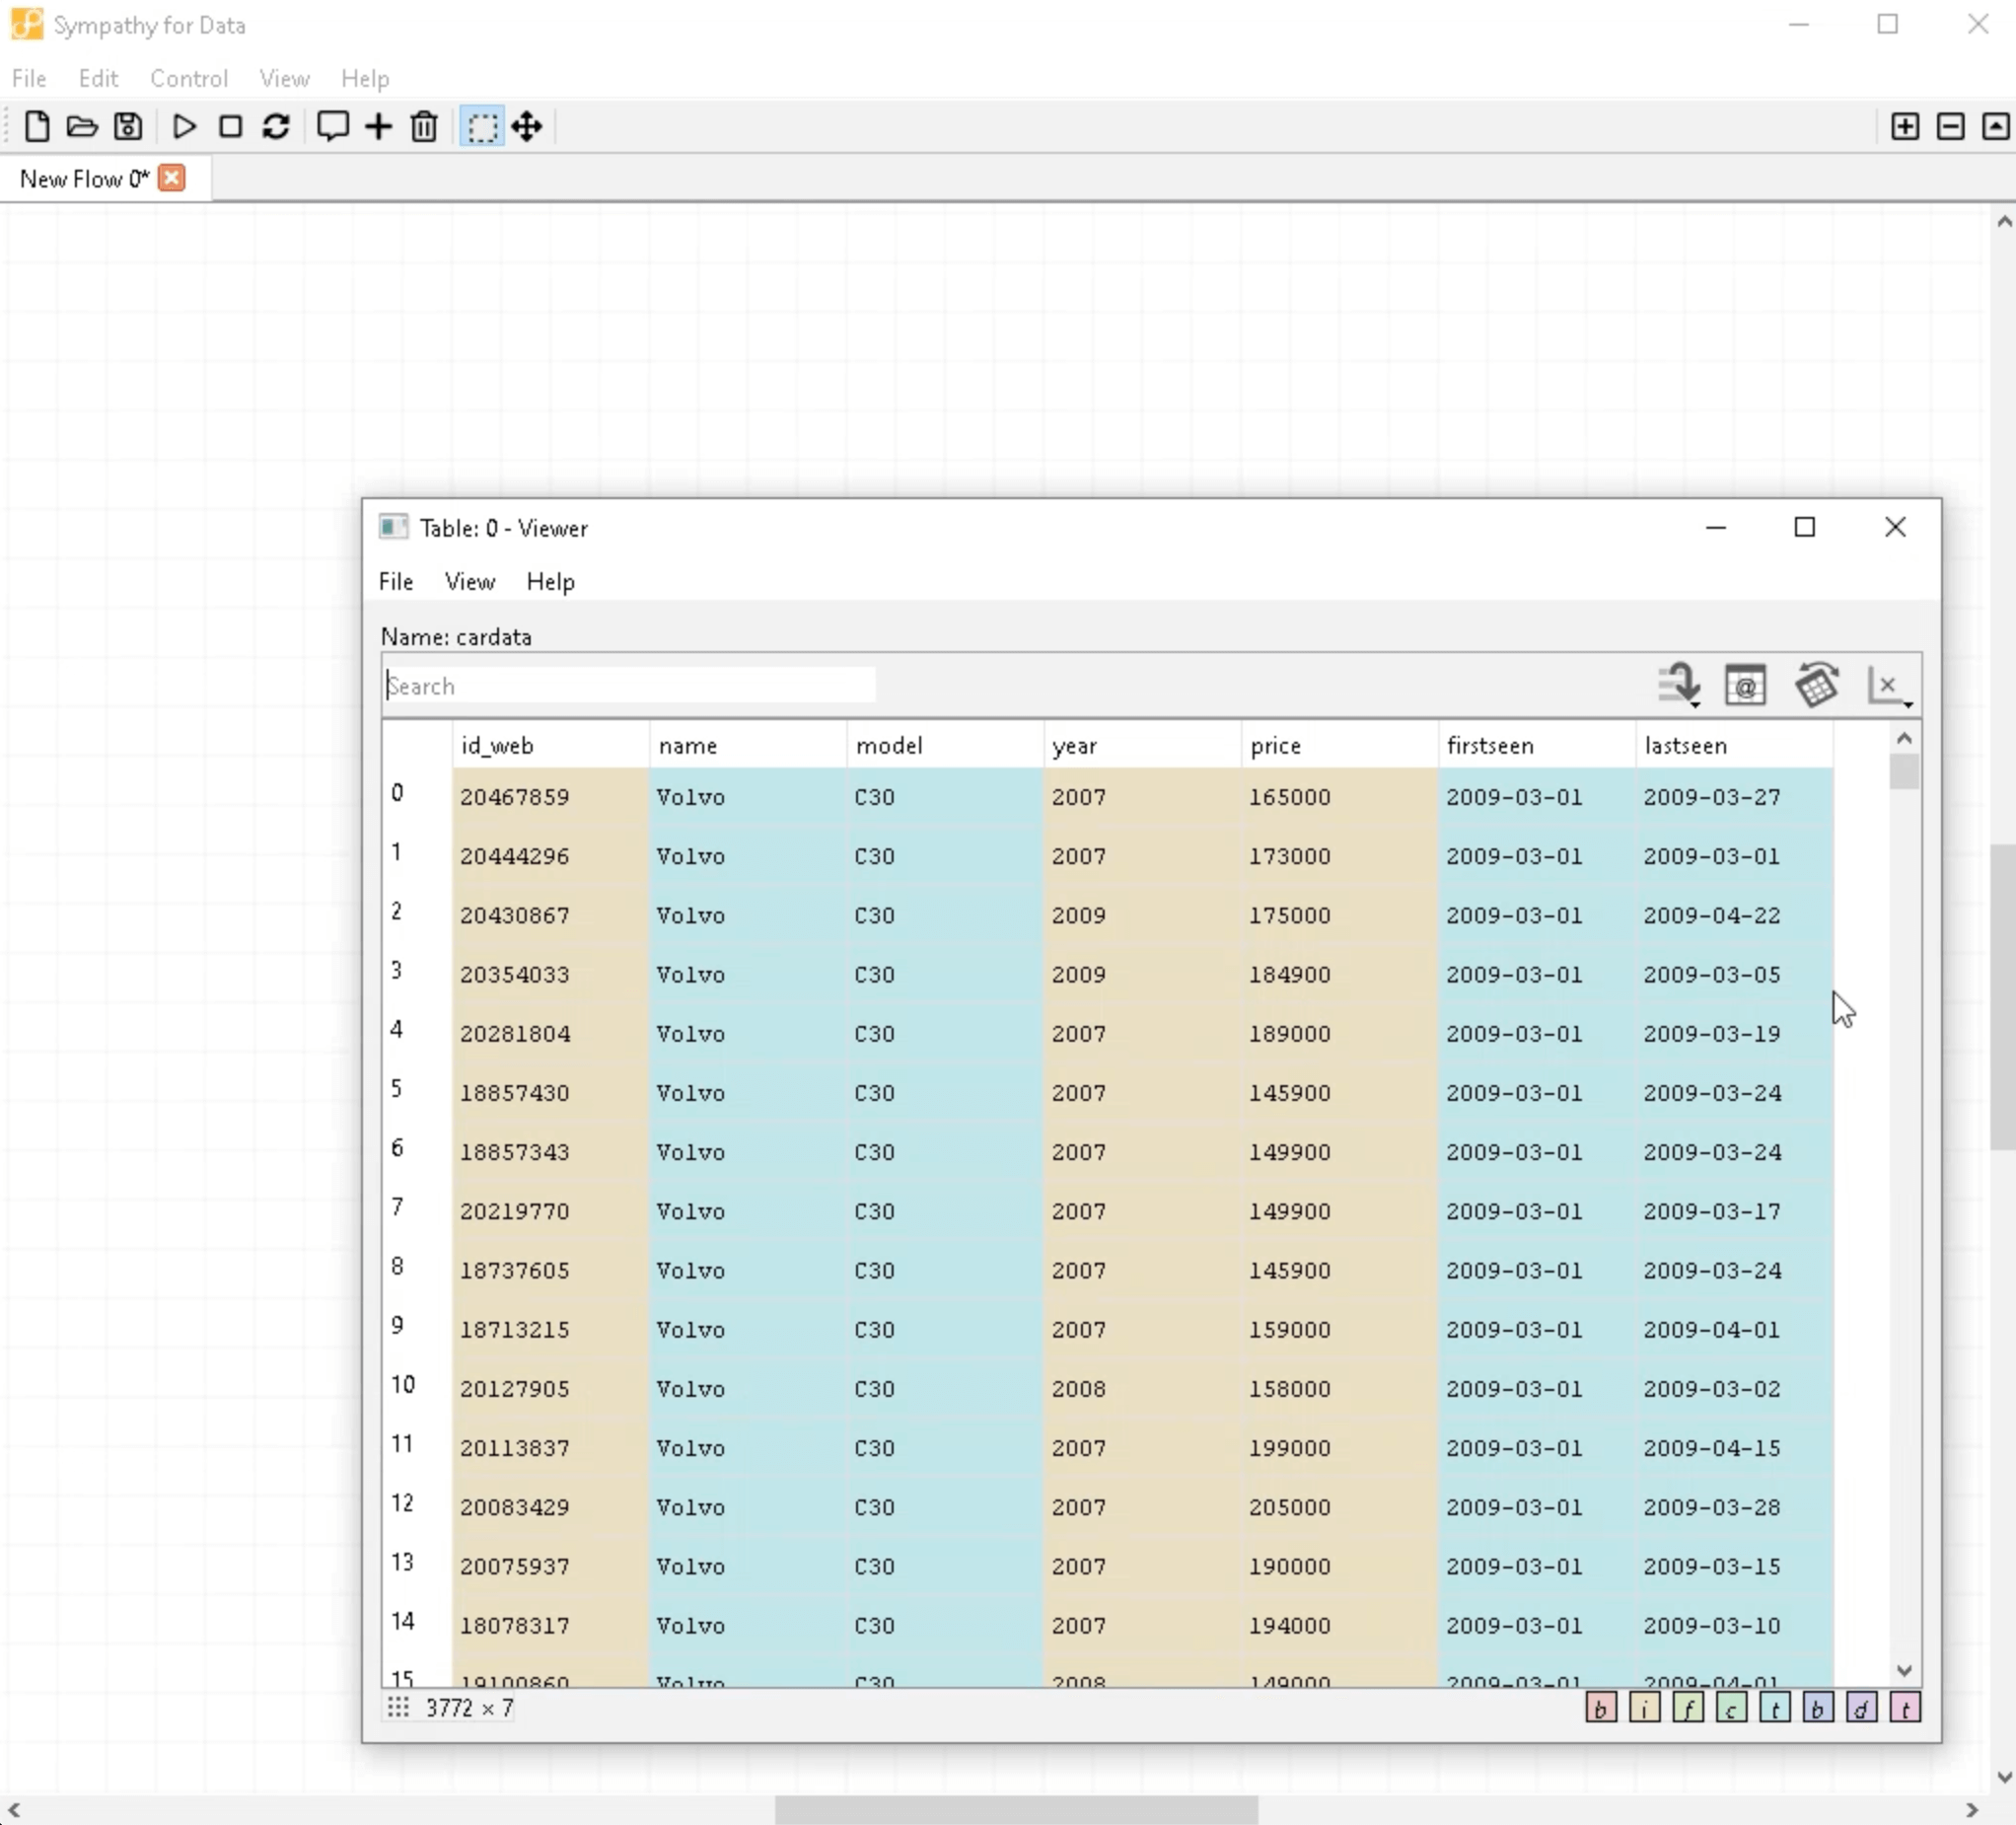
Once the Table node is executed, double-click on the output port to open the data viewer. This will display the imported data from the CSV file, which in our example is about reselling prices for used cars. Feel free to scroll through and familiarize yourself with the data. Once you're done, close the viewer.
And that's it! Now you are proficient at importing a CSV file in Sympathy for Data. We hope this guide was helpful and straightforward. Keep exploring and you'll master Sympathy for Data in no time!
Thank you for following along! If you have any questions, don't hesitate to reach out. Happy data analyzing!